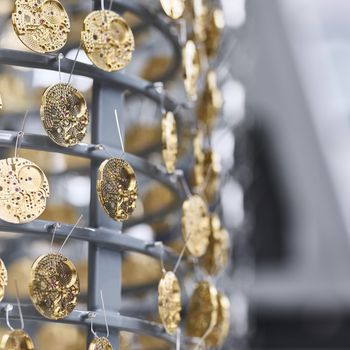
In today's hectic world, there are few people who can do without a wristwatch. The importance of this "cultural companion" has also changed in recent decades. For some, it just tells the time, helping its wearer to structure daily routines. For others, however, it is jewelery made of precious metal, some even set with diamonds and other gemstones. But what most of them have in common is a dial: a signature feature of any watch, and a very delicate part exposed to significant stressors.
In Switzerland – the land of clocks and watchmaking - the production of this component is taken very seriously. Basically, a clock face is made from a metal disk of ferrous alloys, in which the various recesses for numbers, hands, date window, etc. are stamped according to designer specifications. They are then often plated with gold, silver, copper or palladium, depending on the effect desired.
Because it is worn directly on the wrist, a watch is continuously exposed to a wide range of temperature stresses, for example, abrupt changes between body heat and cold outside temperatures in winter, the shock of being dipped into the pool, or baking in the sun – to name just a few. So that the beautiful metal plating retains its brilliant polish without surface discoloration (especially silver), the finished coating is sealed with a thin layer of varnish. Usually around 10-20 microns thick, this protective top-coat is applied by hand with a spray gun, covering the many fine edges of the recesses with the airtight and moisture-proof fixative, thus preventing oxidation and tarnish.
Although in principle a challenging measurement task, the thickness of this lacquer over thin metallic coatings can be determined precisely using the eddy current probe FTA3.3-5.6HF from FISCHER, along with the handheld instrument ISOSCOPE® FMP30. A further aid to improve the measurement accuracy and ease is the support stand V12 BASE. The measurement sequence is then straightforward for the operator: The probe is placed on the dial with the assistance of the support stand, which enforces level and even positioning of the probe. Because operator influence is thus minimized, extremely uniform measurements can be executed, ensuring high repeatability – the standard deviation can be even below hundred nanometers for measuring the thin layer of varnish.
Thin layers of lacquer protecting the dials of valuable watches can be easily and precisely measured using the combination of ISOSCOPE® FMP30, probe FTA3.3-5.6-HF and support stand V12 BASE. For more information, please contact your local FISCHER representative.