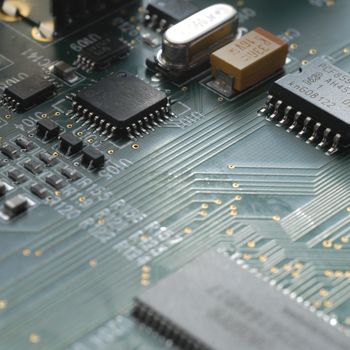
Because EU directives like EU2002/95/EC and EU2002/96/EC prohibit lead and other heavy metals, the solderable coating systems used on printed circuit boards must now be lead free. However, immersion tin carries the risk that, due to diffusion processes, the usable tin remaining in the plating can be insufficient to guarantee the success of solder processes and the quality of solder joints. Therefore the thickness of the pure tin in the coating must be checked before soldering.
Diffusion of copper into the tin starts immediately after deposition of the tin coating. Depending on temperature and time, intermetallic compounds can form which consume the tin in the plating until there is insufficient pure tin left to produce good solder joints. The loss of pure tin is further exacerbated by the heat of the solder process itself. For proper solder joints, a minimum thickness of 0.3 µm pure tin is required before the last solder procedure, meaning an initial layer of freshly deposited tin of at least 1-1.4 µm.
To ensure solderability, the thickness of the remaining pure tin in the plating must be measured precisely. The Coulometric method (DIN EN ISO 2177) is the best choice for this task.
To demonstrate the diffusion problem with measurement results, PCBs with layers of ca. 0.5 and 1 μm immersion tin on top of various copper coating thicknesses were tempered and, after each heating procedure, measured with a FISCHER COULOSCOPE® CMS. The thickness of the copper coating exerted no influence on the thickness of the remaining tin.
| Initial Sn coating thickness | Duration of tempering procedure [h] | ||||
|---|---|---|---|---|---|
| 0 | 2 | 4 | 6 | ||
| ca. 0.5 µm | Mean value | 0.52 | 0.12 | 0.04 | (*) |
| Standard deviation | 0.004 | 0.004 | 0.003 | (*) | |
| ca. 1 µm | Mean value | 1.01 | 0.60 | 0.50 | 0.43 |
| Standard deviation | 0.01 | 0.01 | 0.01 | 0.01 |
The Coulometric method makes obvious the drop in thickness of the pure tin coating. The measurement series with the 0.5 µm samples clearly shows that, even after only two hours of tempering, too little tin remains to guarantee proper solderability.
To check the solderability of coating systems on PCBs, the thickness of the remaining pure tin can be measured without being influenced by the SnCu-alloy using the FISCHER COULOSCOPE® CMS. For more information please contact your local FISCHER representative.