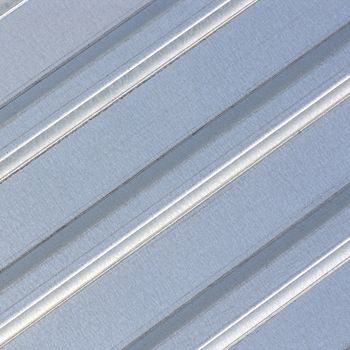
To protect them against harsh weather conditions, exposed parts require a paint, lacquer or anodised coating of a certain thickness. Accurately inspecting the coating thickness is a challenge for the practitioner, especially on curved surfaces, because the geometry of the sample influences the measurement result.
Measuring on coated aluminium blinds clearly illustrates a quandary that arises in common practice: The coating thickness should be measured on both the convex and concave sides. While aluminium as substrate material calls for the eddy current principle, precisely this method is extremely sensitive to variant geometries: What is actually being measured here are the changes, induced by the thickness of the coating, in the alternating electro-magnetic field generated by the probe. These changes, in turn, depend strongly on the sample shape. Measurement results for coatings on convex substrates are inflated, whereas on concave surfaces the thickness is underestimated.
For accurate measurement with a conventional probe, a calibration is required for every radius of curvature on a bare original part: in this case, on an uncoated blind. Specifically for such applications, FISCHER has developed the curvature-compensated probe FTD3.3. With this probe, calibration on a flat metal sheet suffices – without any risk that the actual curvature will falsify the measurement result. Since FISCHER eddy current probes also compensate for conductivity, the metal sheet can even be made of a different aluminium alloy.
If one calibrates both a conventional probe and the FISCHER FTD3.3 probe on a flat metal sheet and then takes comparison measurements on various radii, it is possible to see just how strongly curvature influences the measurement results (see Figure 2). While with the conventional probe, the coating thickness seems to increase disproportionately with increasing curvature, it is measured correctly with the curvature-compensated FTD3.3 probe.
The curvature-compensated eddy current FTD3.3 probe and the handheld instruments from FISCHER make it easy to accurately measure paint, lacquer and anodised coatings on any part geometries – without additional calibration. This means much faster and simpler measurement preparation than with conventional probes. For further information, please contact your local FISCHER representative.